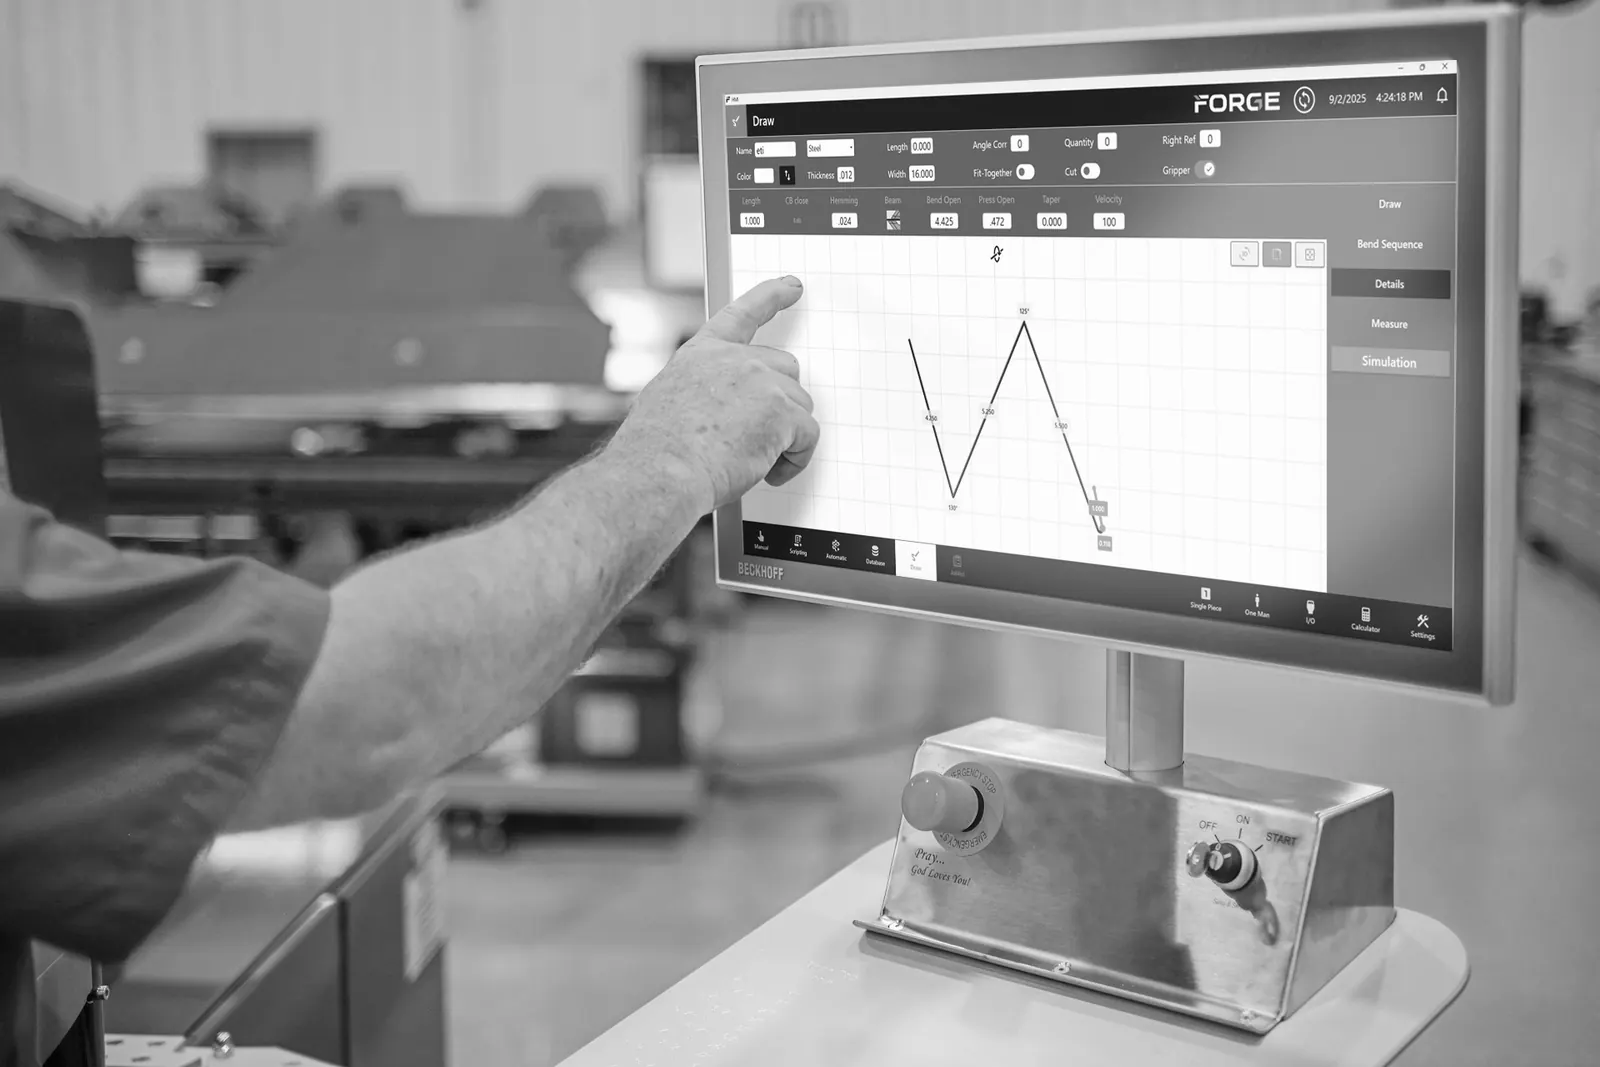
An operator drawing a trim profile on the folder’s touch-screen control

Forge Training Center

Run it like a pro.

Lessons from the people who build, set up and service your folder. Draw new profiles, use every machine mode and handle routine maintenance, at your own pace and with captions on every lesson.

Training starts at install

You won’t learn it alone.

Every new folder includes delivery, professional installation and hands-on operator training on your floor. These lessons are the refresher for later, and for the new operator you hire next year.

  1. On your floorOur setup and training coordinator trains your operators during installation.
  2. On demandEvery lesson here has captions and a full transcript you can search.
  3. On the phoneService picks up at 217.234.4700 and can connect to your machine remotely.

Lessons 1–2 · Touch-screen control

Program a profile.

Dylan, our setup and training coordinator, draws two common profiles from scratch on a 14-foot single folder: point to point, mirror, set the color side, build the bend sequence and simulate it before you fold.

4:33 · Captions

Draw and run a ridge cap

Dylan, our setup and training coordinator, draws a ridge cap point to point, mirrors it, sets the bend sequence, simulates it and runs it.

Read the transcript

Hi, my name is Dylan here at Forge. I'm a setup and training coordinator and today We're going to walk through making a ridge cap on our 14-foot single So when we want to make a new profile, we'll go into database We'll hit the profile and we can name it. We'll name it ridge cap and then from here It's just point to point on your drawing So we'll start up here And we'll kind of draw our rough profile of what we want and then we can come in and edit it Afterwards and one thing about making a ridge cap if you get one side just Drawing out you can hit the mirror button and it will mirror Just like that All around all you have to do is just change your top angle on your pitch and there's your ridge cap From here, we will go to bend sequence and we can select our sequence that we want for the bending So we'll go to I'm going to change the color to the top side After we get a bend sequence set we can go into simulation which will simulate how the machine is going to bend So our first step is going to be The hem do a turn For the second hem and just go next step the next step to simulate each step Flip there and our final step will be a turn And after you like your been sequence and the simulation looks good. You know, all you have to do is go into automatic and Hit start where this profile we're going to make sure we got colored down On our cut we have it Ridge cap

4:50 · Captions

Draw and run a valley

Build a valley with a 1/2″ open hem and a closed hem, mirror it, set the color side and simulate every step before you fold.

Read the transcript

Hi, my name is Dylan here at Forge. I'm a setup and training coordinator and today we're going to demonstrate how to make a valley on our 14 foot single. So when you want to make a new drawing, first thing we're going to do, we're going to go into database, we're going to go to the plus some profile and we'll call this one valley and we'll hit enter to save it. And when you draw, it's just going to be point to point on your drawing. So we'll start at the middle part of the valley, come down and we'll just kind of draw a rough, not perfect one side of the valley because you can come in here and edit it afterwards. So I'm going to go in here to my hem. I'll change that to half an inch. And on the press, we'll do that a closed hem, change it to a zero. And this leg, I'll do four inches. I'm going to keep the 60 and then here we'll just do seven eighths. And to recenter it, you can just hit this button up there at top and we can use our mirror function. But before we do that, we need to change our blue dot mark over to the middle part of the hem or the valley. So from there, we'll hit our mirror and you'll have the same measurements on the other side now. And all we'll have to do is change this. We'll do a 90 for this profile and we will also change our color to the top. So once you have your profile drawn and all your measurements where you want them, we'll go into bend sequence. And this is where we're going to set our sequence for the machine to bend it. So we'll start with our press step. Your circle is going to be a bend step and the square is going to be a press. So we'll start on a hem over here, one, two. Then we'll come over to our other hem, three, four, and then we'll do five, six, and then seven. So after you get your bend sequence set up on this one, our piece is longer than our width, is automatically measured out. So 10 and three quarters inches. So I'm going to turn cut on and that will cut off our waist. Once you have your bend sequence, you can come down to simulation and it'll actually show you how the machine's going to bend it. So you hit next step and here we'll do a turn. Then next step, there's our press step. And then we'll do our middle angle bend. And to hit next step, we're going to have to do a flip to get that upward bend since we're doing it on a single. Next step, we will do a turn and you can go back through the previous step and double check it all. So if you just keep hitting next step, it'll go through the sequence. And once you're happy with that, you can come right down here into automatic. So once you're in automatic, you have the sequence button over here. You can select that and it's going to tell you step by step where it's going to be. So that's just a visual reference when you're actually bending your metal. It'll tell you what step you're on. So once you're ready to go, all you have to do is hit start and the machine will be ready to bend. Now that we're ready to bend, we just need to make sure it paints down for this profile. Here we have a valley.

Lessons 3–6 · Machine modes

Run the machine.

Short lessons on the modes that save the most time: small parts, full sheets, one operator on two pieces, and the safety sensor at the base of the machine.

1:17 · Captions

Using the small parts stop

Turn on the small parts stop in settings, square it to the back stops and run pieces as small as 4″ with the built-in magnets.

Read the transcript

Okay, so when your machine's on, your normal running mode, you can just go in here to manual and bring it up to wherever it's accessible. So you can come up to like 10 inches here and then in your settings, down in the right-hand corner, click on that, on your settings page, you'll have a small parts stop. You'll just turn that on and then it'll prompt you to place your part stop into the grippers. So we'll take it, just square it up with our back stops. Once you got it squared up, you'll just hit continue on the HMI and that'll close the grippers. And from there, you're just, you're ready to run. You can run any profile, small pieces. So for, I'll just come up to four inches here. We have built-in magnets at the end of your parts stop. So you can just take your small pieces, just square them up, just normally like you would in your grippers and you can just run a profile from there.

1:35 · Captions

Sheet mode on a 14-foot double

Load a full 48″ flat and fold multiple profiles out of one sheet. It slits post-bend, so the operator just catches parts.

Read the transcript

This is Nick with Forge Machines, just wanted to show you sheet mode on our 14 foot double. You can put a full 48 inch flat in here and fold multiple profiles all out of one sheet. As you saw, it slits post bend. They call it your money printing machine for a reason and this machine is actually available for sale with no lead time. So give us a call to put one on order today.

2:14 · Captions

One-man two-piece mode

Adam runs wainscot samples in a board and batten profile, one operator working two pieces.

0:38 · Captions

The safety sensor

Step into yellow and the machine slows way down. Get closer and it stops. Step back and it gets back to work, no factory reset.

Read the transcript

This is Nick with Forge Machines. Today I'm going to show you the safety sensor at the base of the machine. Yellow is going to slow our machine way, way down. If you get even closer, it's going to go red and the machine's going to stop completely. Very safe at this moment here. To get the machine operating at full capacity, you don't have to do a factory reset. You just have to get out of the way and let the machine get back to work.

Lessons 7–8 · Maintenance

Keep it running.

Two jobs you can do in your own shop, filmed start to finish by the Forge service team. Same steps on single and double folders.

1:55 · Captions

Change the back gauge batteries

Russ shows how to swap the batteries that hold back gauge and gripper positions. Same steps on single and double folders.

Read the transcript

Hello I'm Russ from Forge Variobend. We're working on our S14 series single folder today. I'm going to show you how to change the back gauge batteries which is also the same for double folders with grippers and gripper stops. First thing you want to do going into your required on your back gauge and or grippers and you want to pull them all the way home. For this you do not want to turn the power off on the machine and this must be done with the battery with the power on. The purpose of the battery is to keep the memory for your back gauge and gripper positions. Your battery looks just like this. The clip you're pressing is right here and that is your release and your battery will slide straightforward. It's recommended to write the date you change your battery onto the side of the battery. These typically last two to three years so if you question when you change it last if you have an issue look at your date on your battery and then you know that it's time to change the battery. Remove the battery push the button on the side and you slide the whole housing out. Press the thing on the side the release and you can swap your battery out. Plug the new battery back in take your battery and slide it back into place and it will clip. Thank you for watching if you have any questions please call our service department 217-234-4700

7:27 · Captions

Replace and adjust the hinge arms

A full shop walkthrough: support the bending beam, remove and reinstall the hinge arms, and keep your hinge adjustment.

Read the transcript

This video is about how to replace your hinge arms and make adjustments on your Variobend machine First thing you want to do is take these off Do one section at a time or all at the same time. It doesn't matter These bolts Do not loosen them yet. You take this off to be able to get to the backside hinge pins This proc switch is your bending beam home switch Which will be used in a little bit Second thing you need to do go on to your controller Set the bending beam to 90 degrees clamp your machine down and swing your bending beam out Take a board and support the bending beam and let it drift down until it touches and then You'll have to get down where your bending beam proc switch is and put a piece of metal over it So the machine thinks that the bending beam is home and then you can raise the clamping beam This machine that you're looking at is being worked on here in the shop the slitter you can leave it on For the most part nothing else needs to come off this machine Next thing you want to do on the front and the back Loosen these two bolts up and take them out on both sides If at all possible do not loosen the four bolts on either hinge block and do not Loosen these set screws with the nuts unless you absolutely have to The thought is if someone's not adjusted your hinges a lot You should be able to replace the arms and your hinges be really close to the way they were when they left the factory Once you have the top loose, you want to come down to the bottom Remove these two pins You should be able to tap the center of this with a mallet and get this assembly to pop out and you can take the pins Off the top and slide them out. Be careful not to lose the metal spacers that are in the arms and If you are real careful There's some shims that are on that between the snap ring And the arm that you may need to save unless you get more But if you end up losing a couple or denting a couple, it's good to try to save a few of them This assembly will pop out Try not to take the center pin out yet Because you want to keep the orientation so you know when you reassemble your hinges, you can put them in the same direction You can put them in wrong From the arch here You see it's down If you put them in wrong, they will not line up anywhere on top Once you get everything apart cleaned up ready to go back together You want to slide your first set in Put your back ones in first Start your bolts run your arm through Start your front one run your arm through put your bolts in Start with this pin The next to get it lined up And if all goes well, you should be able to put this pin in second and that pin in third and everything should line up And you should not have to loosen your blocks If it doesn't work that way maybe mess around with it a little bit and see if there's an order that you can do But that is what we found the best The idea is try not to loosen these blocks up. It'll make your life easier once you get everything put back together Once you're done You want to clamp your bending beam back down So now you're able to remove The flag that's on your proc switch saying the bending beam is home Then you want to bend your bending beam back out And your board will fall out Now whenever you tell it to go home It's kind of lost the encoder is searching for position and it will pull back up slowly Until it hits home and you can open your clamping beam back up at that point You can replace Your supports on the on the back of the bending beam And the next step would be adjusting the hinges What you do not want to do Is go through and replace like three in a row try to alternate your hinges as you replace them So like do one three five and then come back and do two four six That'll help keep the beam in position. It'll be easier to keep everything lined up that way Now going on to adjusting your hinges You want to use a straight edge? Slide it forward And you'll be able to see how this is rocking That means that this block needs to come down But this particular machine we haven't rebuilt hinges on yet. So that could be what you're seeing wearing the hinge To adjust them on the front and back. This is where you loosen these four bolts up Loosen them up to where they're loose and snug them up just a little bit Loosen these nuts up and you adjust back and forth and what that does will move your hinge this way You need to move left and right sides evenly And it will show as you go through You'll see it how your clamping beam and your bending beam will be flat and if they're out of adjustment Across the span of your beam. It'll be a wave So if you have some that are high or some of their low you can see that By putting your straight edge on And make them flat But you need to make sure that you keep them parallel with each other Not you don't want them running at an angle because that will cause undue wear on this pin here If these pins need to be changed out, it's a simple screw here You slide them out slide them back in just like all the other pins It's snap ring shim pin arm spacer and so on and so forth Make sure there's shims and snap rings on both sides of the pin. These are not they just have screws on the end holding these pins in Whenever you're done adjusting hinges and you've tightened everything back up you want to go through and make sure That your bending beam is pretty Pretty consistent the length of the machine as far as your lip here Uh, if you have a high spot or a low spot meaning that the bending beam is doing this You will need to go through and tweak your hinges back and forth a little bit to try to make it to where it's level Um, and you will see that you'll probably see that in your metal if it's not completely straight If you have any questions, please feel free to give us a call 217-234-4700 the service department here at forge

Shop tips from our service team

  • Leave the power onChange back gauge and gripper batteries with the machine powered, so it keeps its positions.
  • Date every batteryWrite the install date on the side. They typically last two to three years.
  • One section at a timeOn hinge arms, avoid loosening the hinge-block bolts and set screws unless you have to. Your adjustment stays close to factory.
  • Save the shimsKeep the metal spacers and shims from each hinge arm. You’ll want them on reassembly.
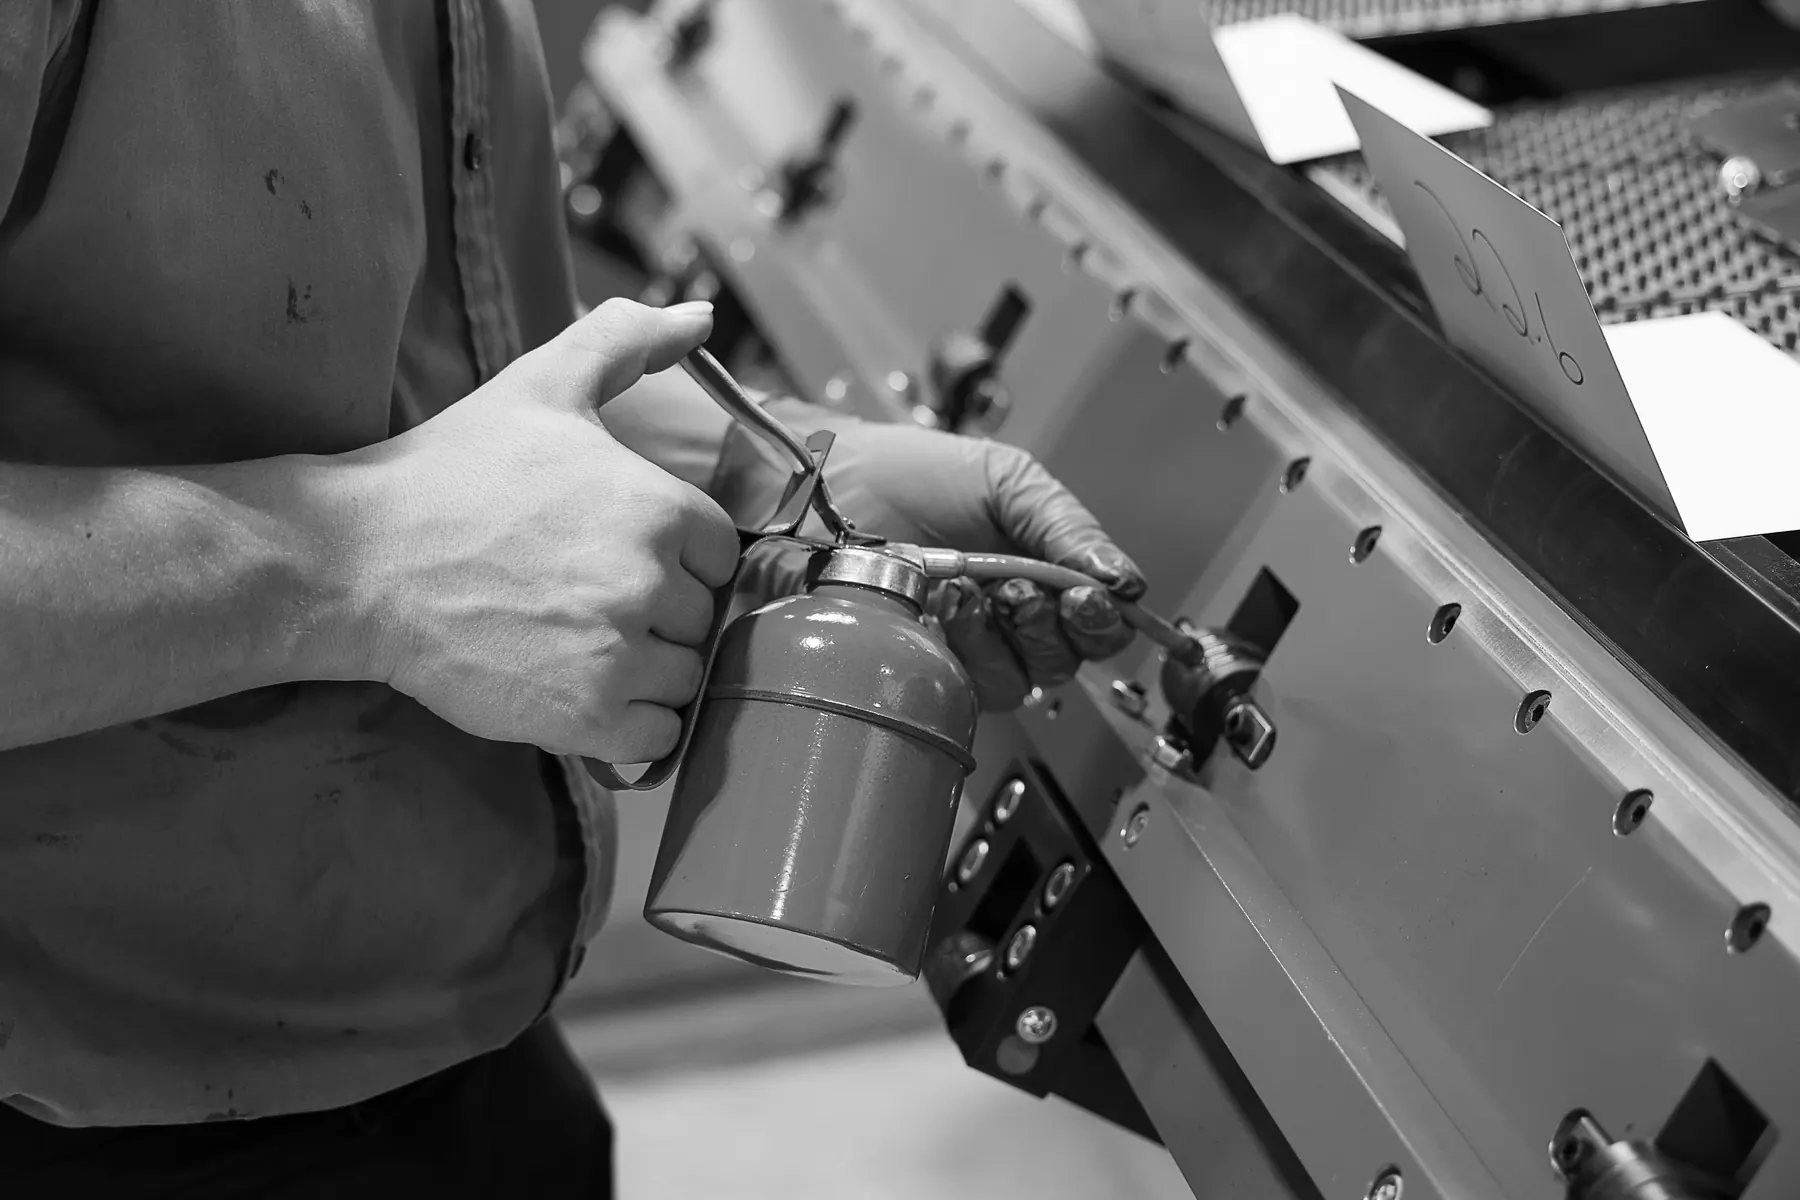
A Forge technician oiling the bending beam
Lubrication
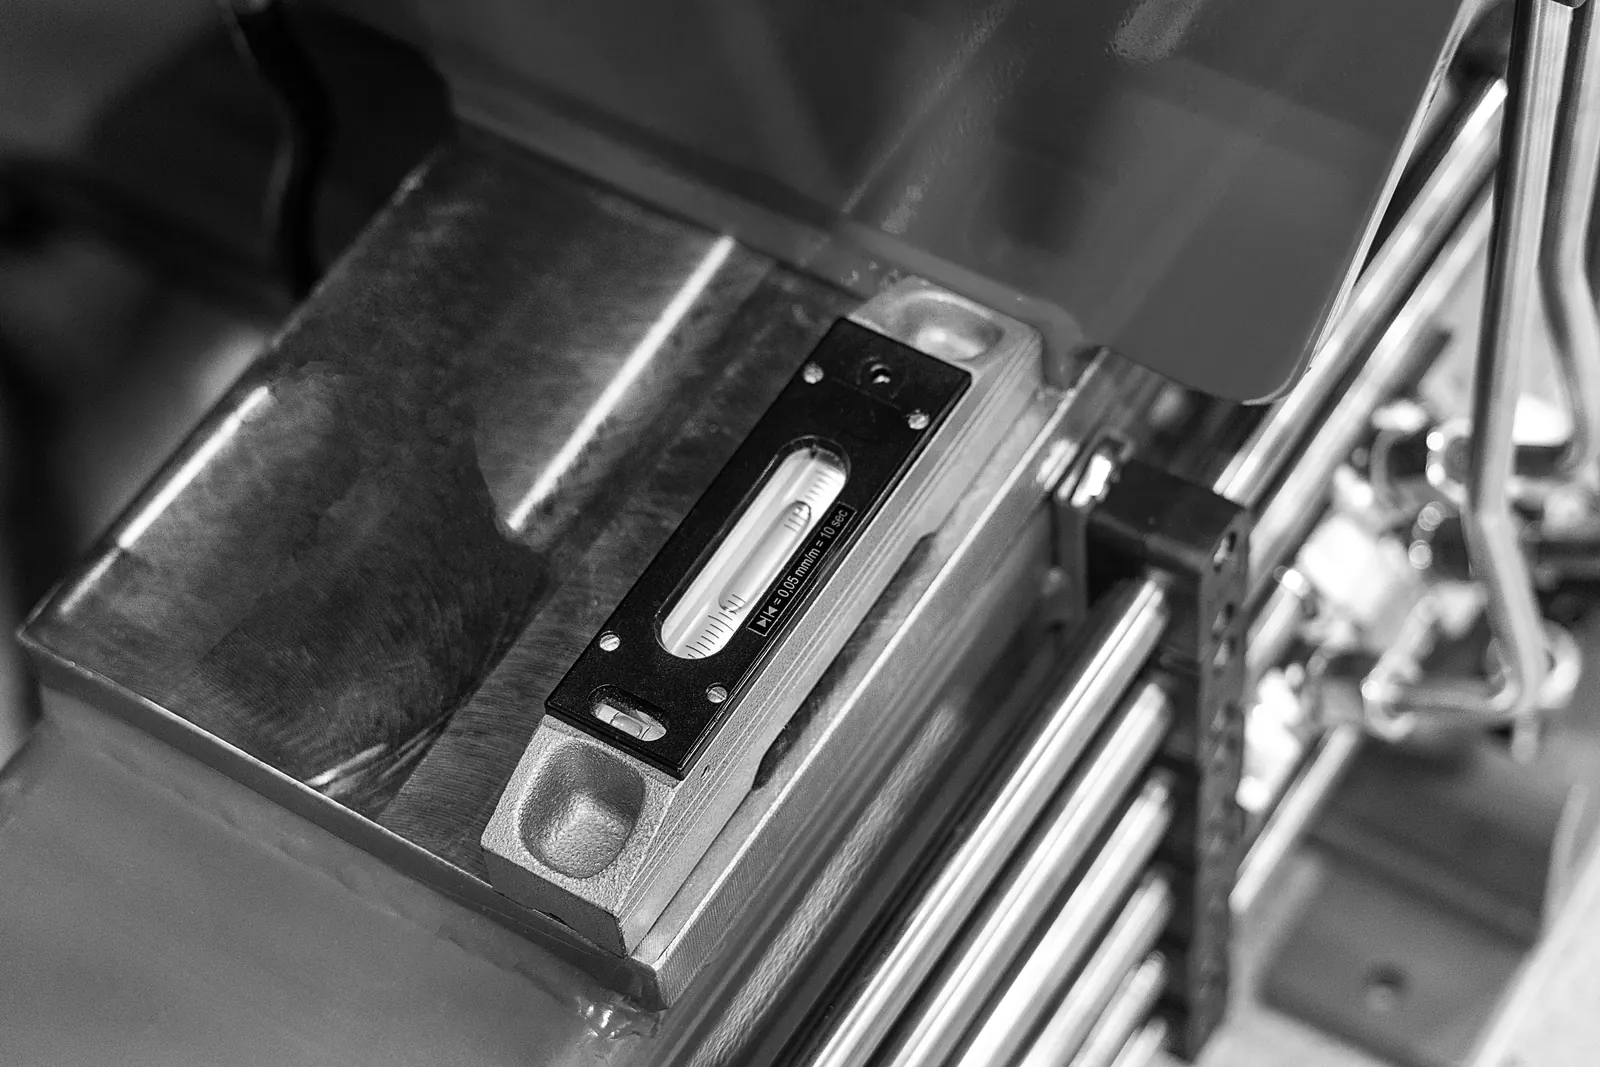
A machinist’s level set on the folder frame
Leveling
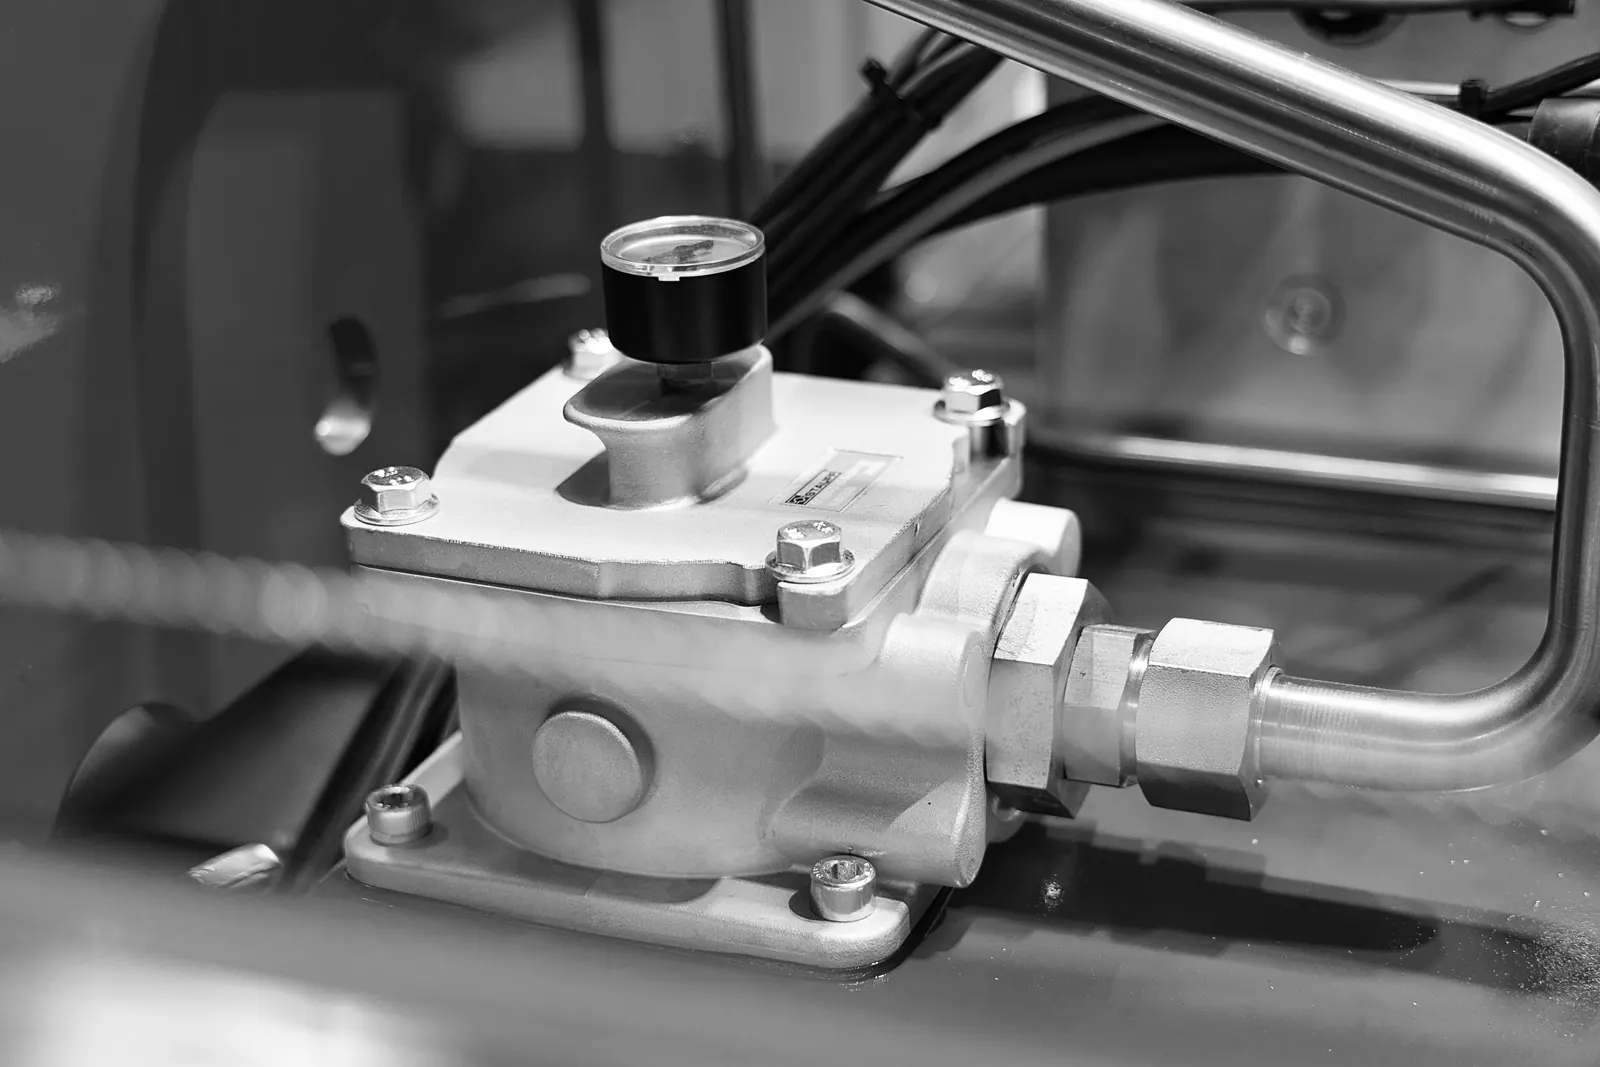
A hydraulic filter with its pressure gauge
Filters
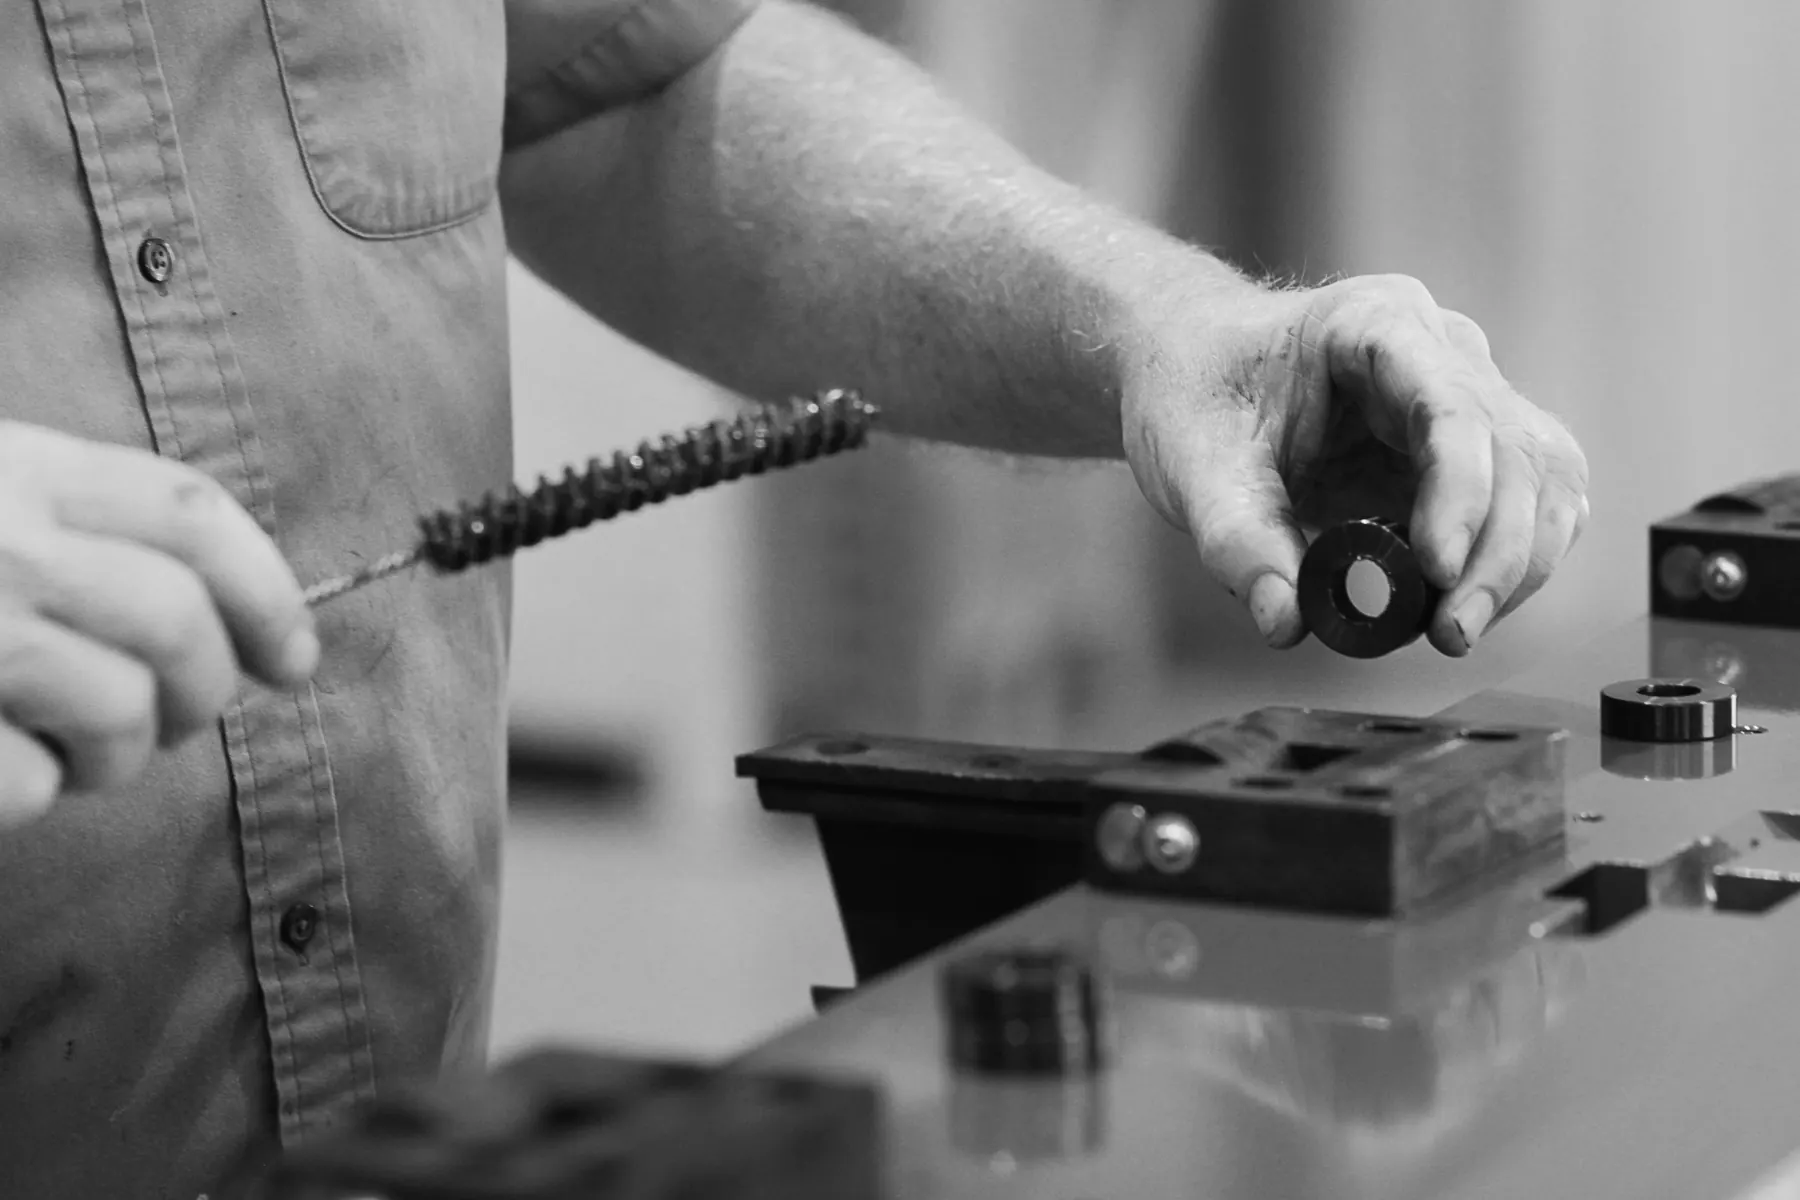
Cleaning a gear with a wire brush
Cleaning
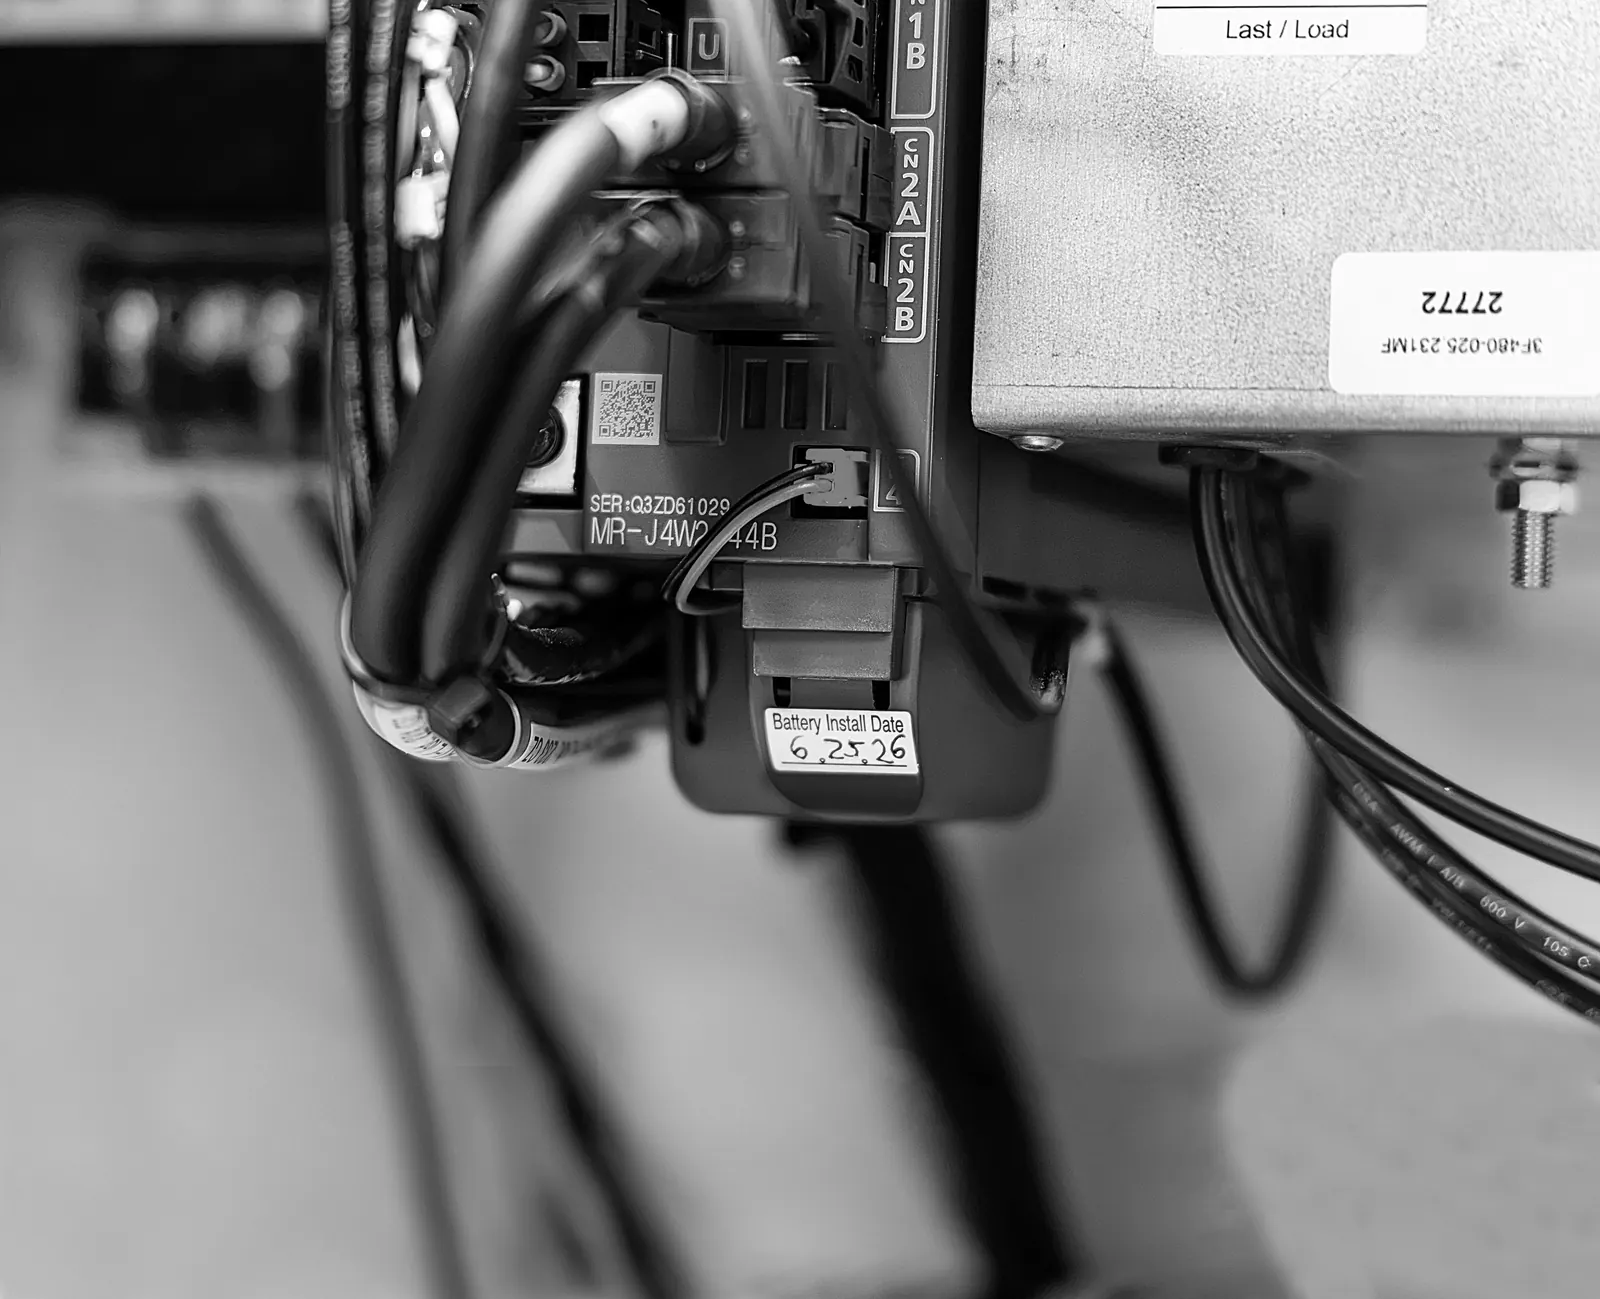
The back gauge battery housing and cables
Back gauge battery
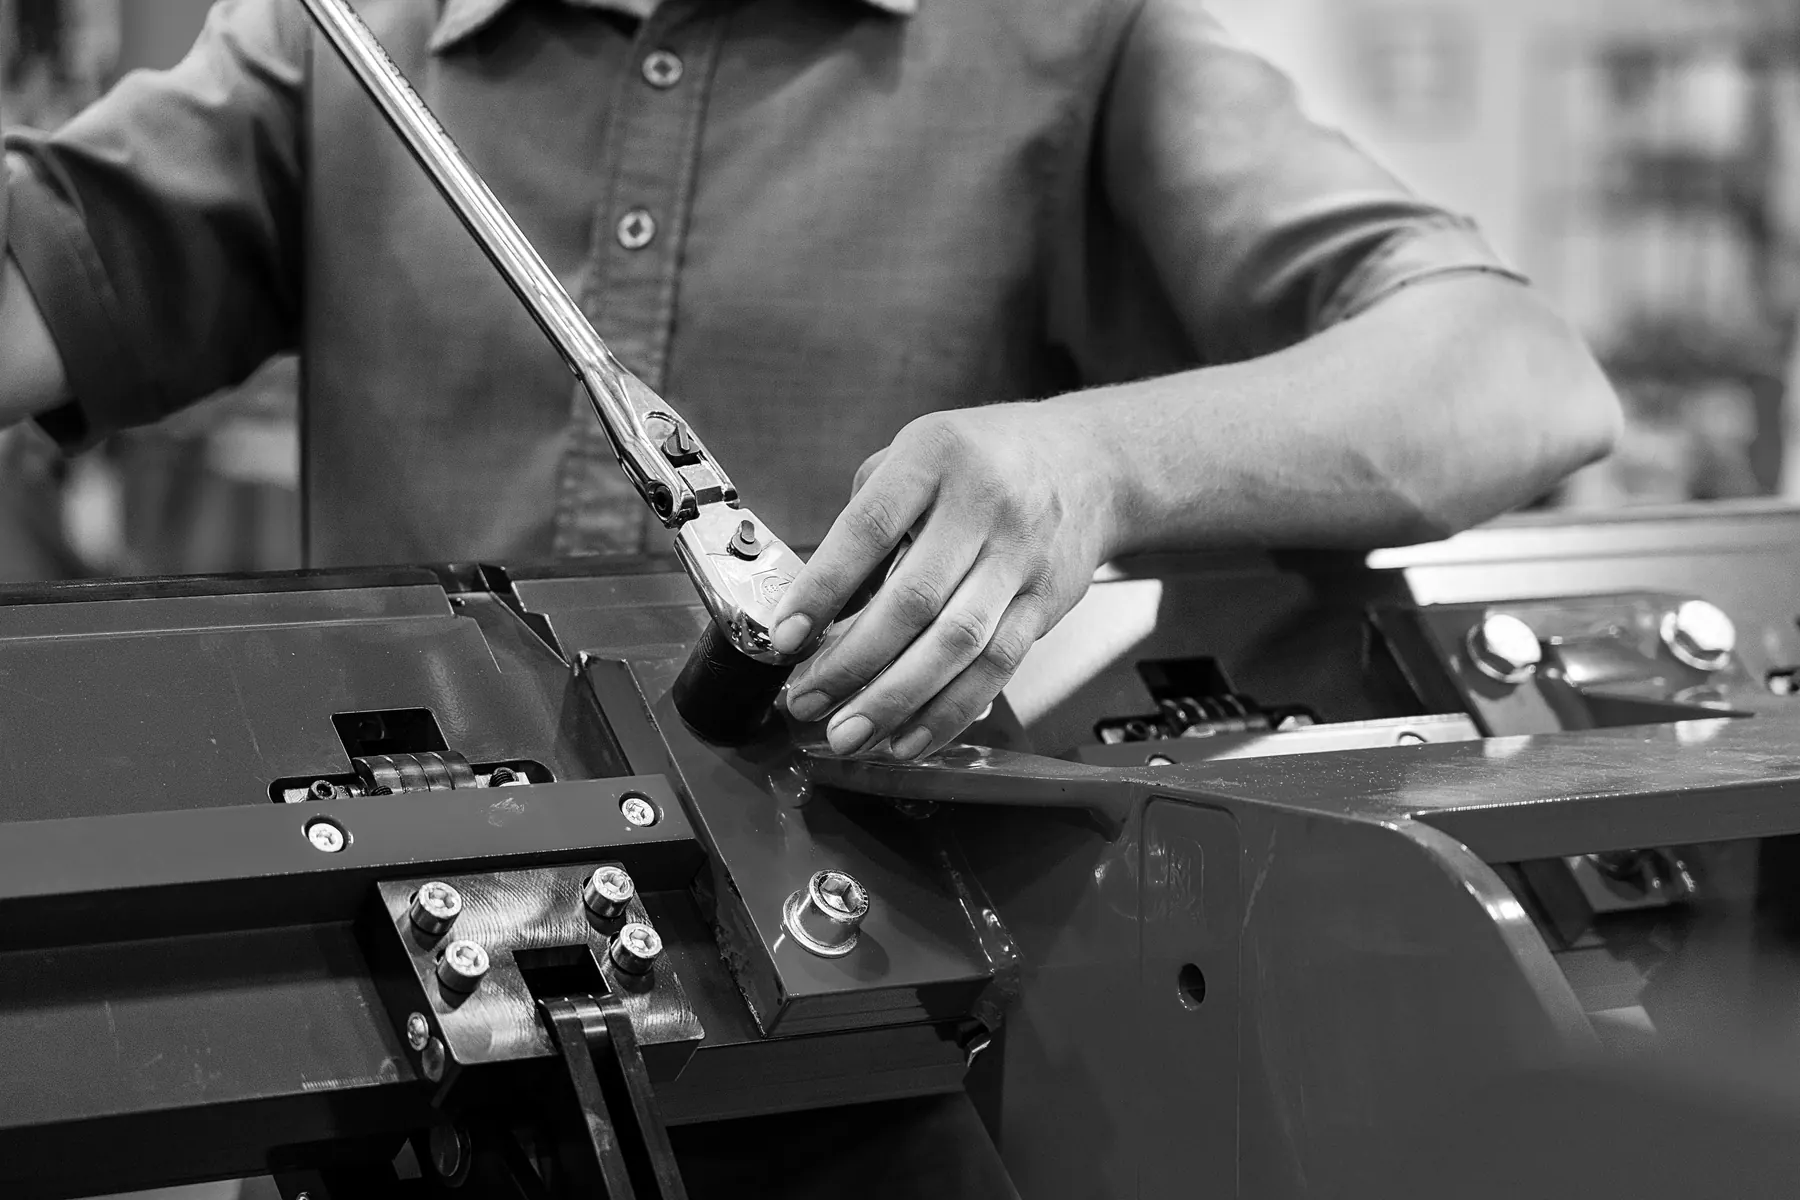
Torquing a bolt on the folder with a long wrench
Torque checks

Lesson 9 · Forge Falcon

Fold a deep J on the Falcon.

Meet the Falcon

1:00 · Captions

How the Falcon folds a deep J

Dylan draws the 3/8″ deep J from the show, switches to automatic and folds it using the Falcon’s 160° bend.

Read the transcript

We had a lot of inquiries about the deep J profile that we were able to fold on the Falcon. So today we're here with Dylan and we're going to talk you through that process. Dylan, you want to show us how it's done? Yeah, so on the our 3.8 deep J we were making at the show, here's our drawing of it. So once we have this drawn up, all we have to do is go into automatic and then we're ready to fold. With our new Forge Falcon we're able to achieve the deep J with the 160 degree bend radius, unlike any other machine out on the market.

Still stuck?

A real person picks up.

Our service team troubleshoots many issues over the phone and can connect to your machine remotely. When it needs hands on, a technician is typically dispatched within hours.

217.234.4700

Mon–Thu 6:30am–4:00pm · Fri 6:30am–11:30am

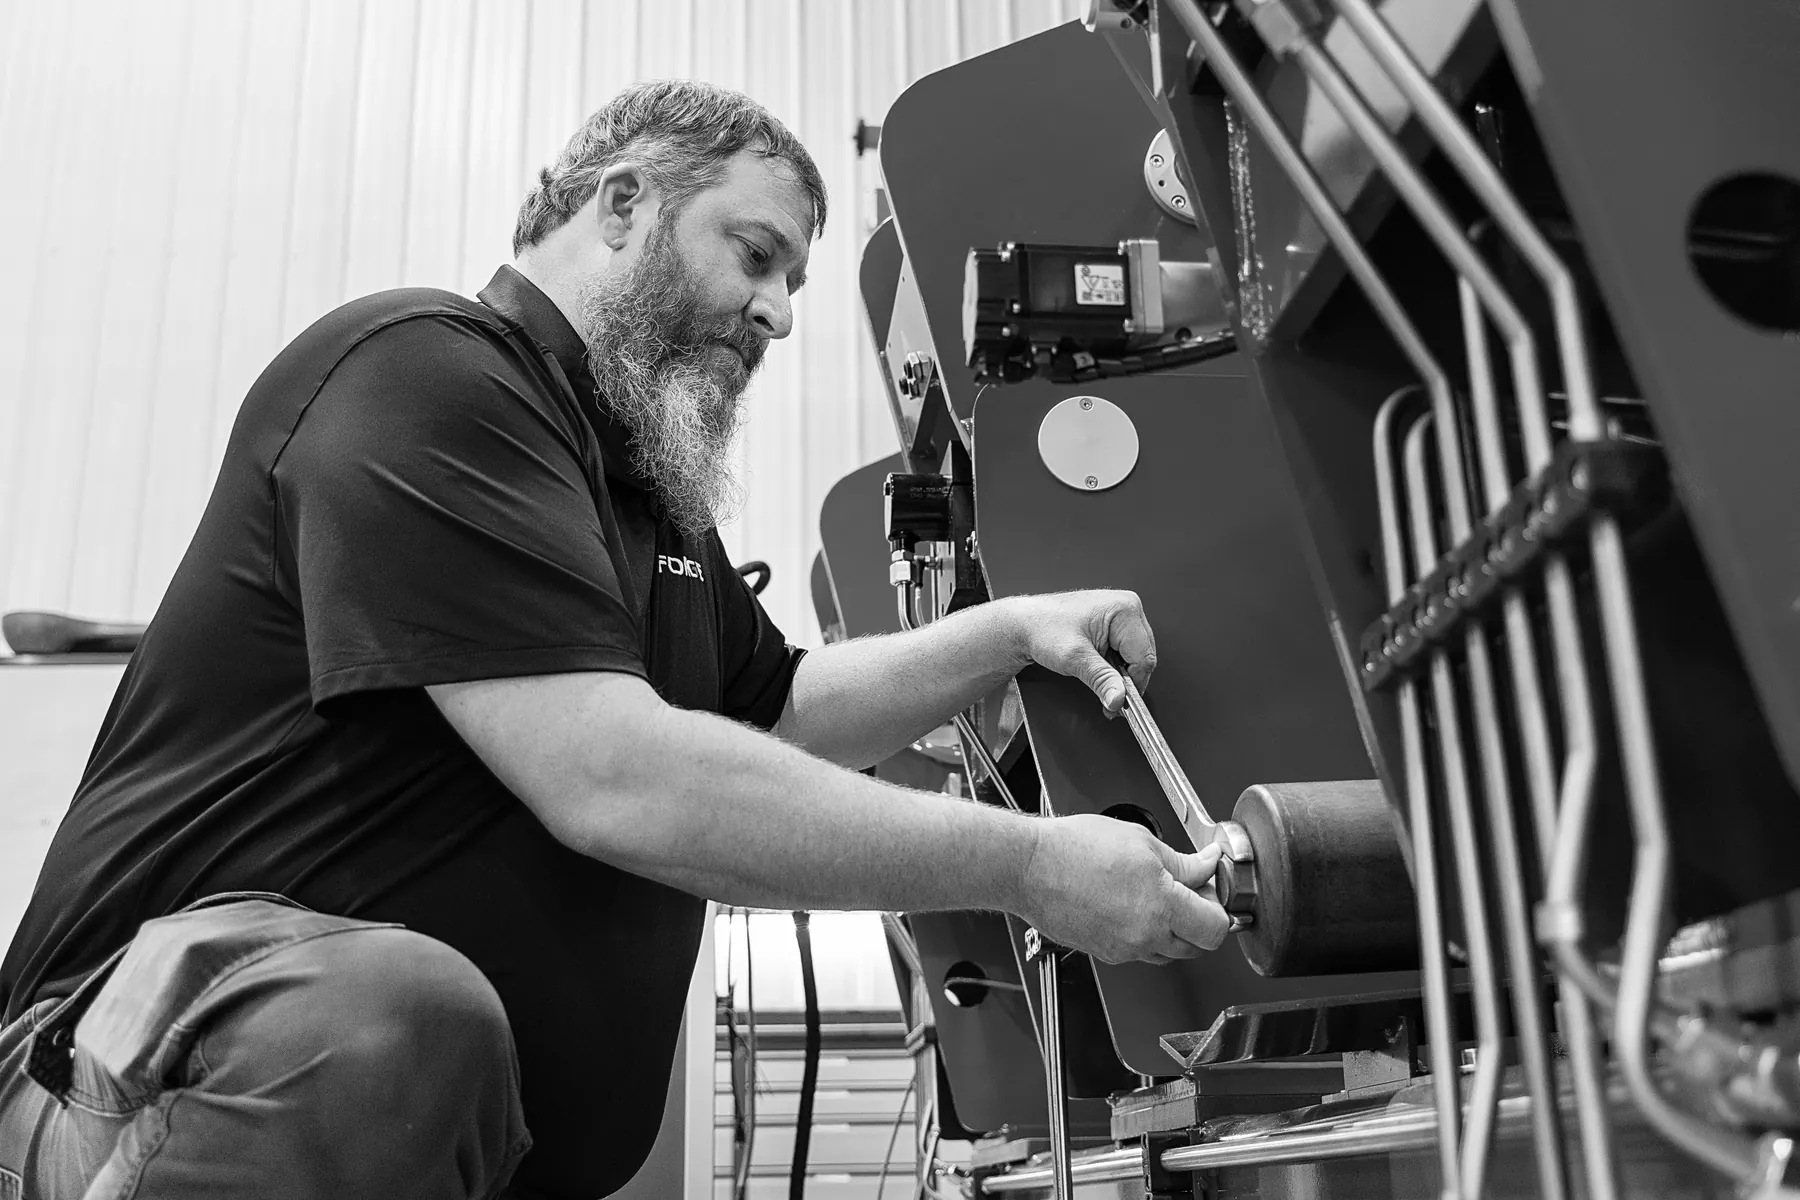
A Forge service technician adjusting a folder
Call Get a quote